
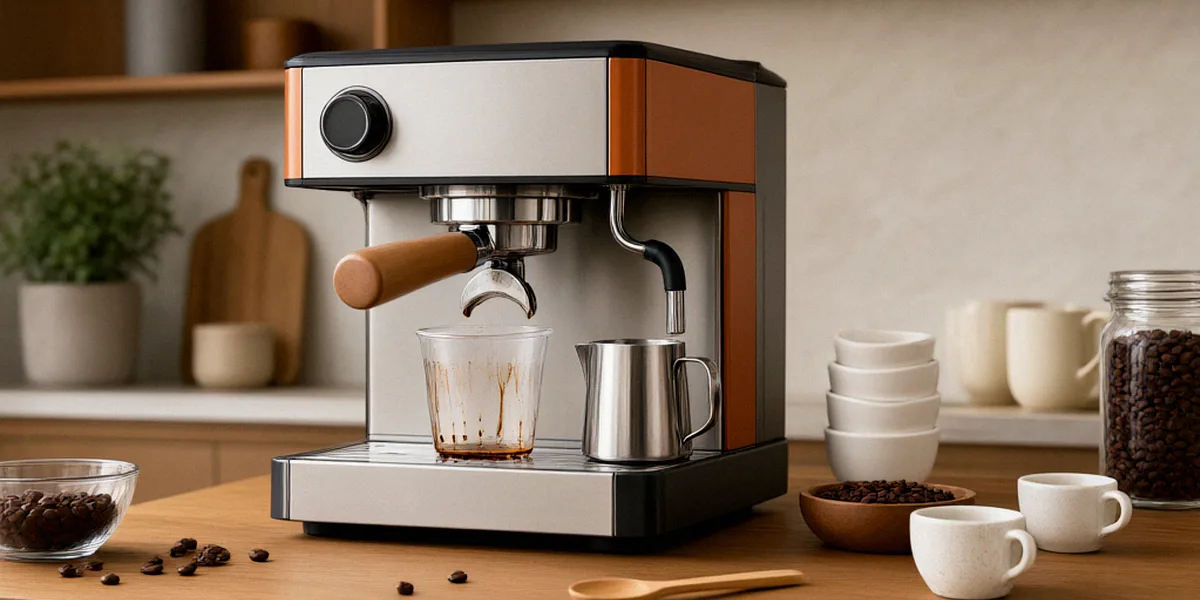
Espresso at Home: A Beginner’s Setup
It’s 6:45 a.m., the kettle is on, and you’re staring at the same $5 latte you’ve bought every weekday for the past year. We’ve been there — and so has our coffee budget. The good news is that pulling a genuinely great shot of espresso at home is more achievable than it looks. You don’t need a commercial-grade machine or a barista certificate, just a modest setup, fresh beans, and a willingness to taste a few less-than-perfect shots along the way. This guide walks you through everything we wish we’d known when we started.
Why We Started Pulling Shots at Home
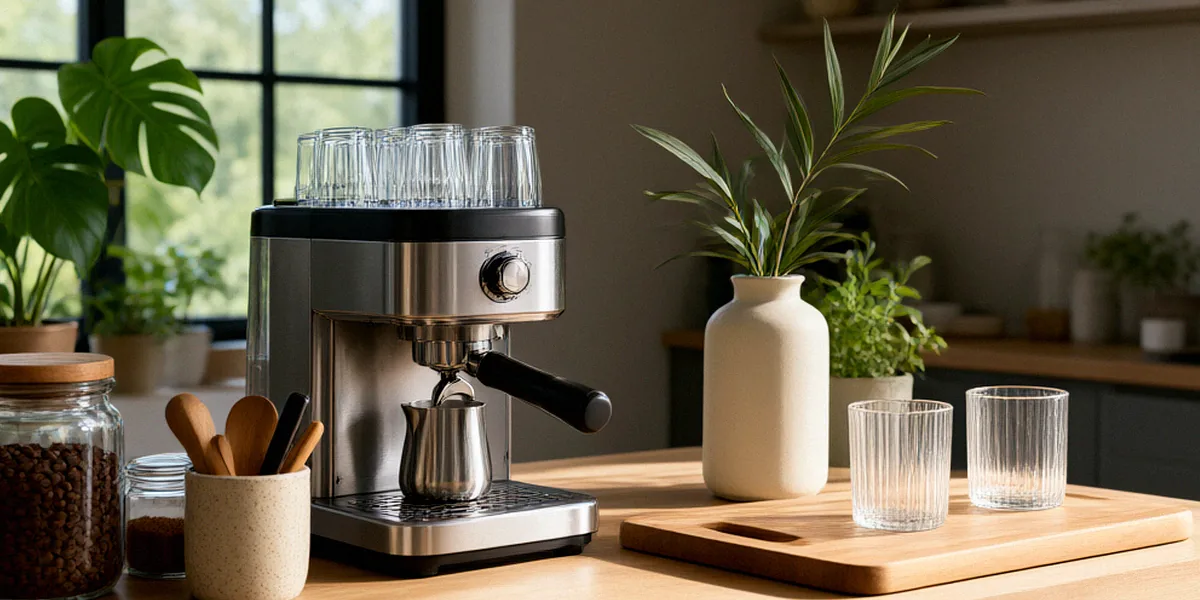
Our motivation was simple: we wanted café-quality espresso without the café price tag, and we wanted it in our pyjamas. Canada’s coffee culture makes that itch easy to scratch. Tim Hortons and Starbucks are on nearly every corner, and while we still love a drive-thru double-double on a road trip, there’s something satisfying about controlling every variable of your own cup. Home espresso is part savings plan, part hobby, and part daily ritual.
The Cost of Daily Café Espresso
Run the numbers and it gets uncomfortable fast. A daily espresso-based drink at $4.50 to $6.00 adds up to roughly $1,600 to $2,200 per year. A beginner home setup — machine, grinder, and accessories — often costs less than six months of café habit. After that, you’re mostly paying for beans, which works out to well under a dollar per shot for most Canadian roasts.
The Joy of Dialing In Your Own Shot
There’s a real craft to it. “Dialing in” means adjusting your grind and dose until the espresso tastes balanced rather than bitter or sour. The first time you nail a shot — thick, sweet, with a hazelnut-coloured crema — you’ll understand why people get hooked. It also makes you a sharper taster. Once you’ve pulled a few dozen shots, you’ll notice exactly what you love (and don’t) about café espresso.
The Essential Gear for Beginner Espresso
You can spend thousands, but you don’t have to. Here’s the short list of what actually matters when you’re starting out.
- Espresso machine — Breville and Gaggia both make beginner-friendly models that are widely available in Canada.
- Burr grinder — Baratza grinders are often recommended for home espresso because they grind consistently.
- Digital scale — accurate to 0.1 g, for dosing and yield.
- Tamper — often included, but a well-fitted one makes a difference.
- Fresh beans — ideally roasted within the last two to four weeks.
Choosing Your First Espresso Machine
Look for a machine with a pressurized or non-pressurized portafilter, a decent steam wand, and a reputation for reliability. Breville’s entry-level models are popular for their ease of use and built-in features, while Gaggia’s classic machines appeal to tinkerers who want a more manual experience. Either route works — just avoid ultra-cheap machines with no real pressure control, which tend to produce disappointing results.
Why a Burr Grinder Matters
If there’s one upgrade that changes everything, it’s the grinder. Blade grinders chop beans unevenly, which leads to inconsistent extraction — some grounds over-extract and taste bitter while others under-extract and taste sour. Burr grinders, including the Baratza models many home baristas swear by, produce uniform particles so your shot tastes the same every time. A good grinder often matters more than the machine itself.
Small Tools That Make a Big Difference
A 0.1 g scale, a distribution tool or simple needle stirrer, and a knock box round out the kit. These aren’t glamorous, but they’re the difference between guessing and knowing. We keep a small notebook (or a notes app) to log dose, grind setting, and shot time — it speeds up the learning curve enormously.
Beans and Grind: The Canadian Coffee Scene
Great espresso starts with great beans, and Canada has no shortage of excellent roasters. Freshness beats brand prestige every time: beans roasted weeks ago taste flat no matter how good the machine is.
Finding Fresh Beans in Canada
Look for a roast date, not just a best-before date. Canadian roasters like Social Coffee & Tea Co., 49th Parallel, and Pilot Coffee Roasters offer fresh beans with clear dating, and many ship across the country. Local cafés often sell bags from nearby roasters too — ask what’s freshest that week. If you’re buying supermarket beans, check the date carefully; the difference in the cup is dramatic.
Grind Size and Consistency
Espresso needs a fine grind — finer than drip, coarser than powder. The goal is a grind that lets water pass through the puck in roughly 25 to 30 seconds. Too coarse and the shot gushes out thin and sour; too fine and it chokes, dripping slowly and tasting bitter. Adjust in small steps, one variable at a time, and keep everything else constant while you test.
Step-by-Step: Your First Espresso Shot
Here’s the basic workflow we follow every morning. It takes a few minutes once you’ve practised.
- Warm up the machine for 10 to 15 minutes.
- Weigh your dose — typically 18 g for a double.
- Distribute and tamp evenly.
- Pull the shot with a scale and timer running.
- Taste, then adjust grind or dose as needed.
Dosing and Distribution
Weigh your beans before grinding, then grind straight into the portafilter basket. Use a needle tool or a gentle shake to level the grounds so there are no clumps or gaps. Even distribution prevents “channeling,” where water finds a weak spot and rushes through, leaving the rest of the puck under-extracted.
Tamping and Pulling the Shot
Tamp level and firm — about the pressure it takes to press a bathroom scale to 15 kg, though consistency matters more than exact force. Lock the portafilter in, place your cup on the scale, and start the pump. Aim for roughly 36 g of espresso out in 25 to 30 seconds for an 18 g dose. That 1:2 ratio is a solid starting point.
Tasting and Adjusting
Sour and thin? Grind finer or increase the dose. Bitter and harsh? Grind coarser or shorten the shot. Change one thing at a time and taste again. It usually takes a handful of shots to dial in a new bag of beans, and that’s completely normal.
Maintenance and Troubleshooting Tips
A little upkeep keeps your espresso tasting clean and your machine running for years. It’s the least glamorous part of the hobby and the most important.
Daily and Weekly Cleaning
Flush the group head after each shot, wipe the steam wand right away, and empty the drip tray daily. Once a week, backflush with espresso cleaner if your machine supports it, and wash the portafilter and basket with hot water. Skip the dishwasher for delicate parts.
Descaling Your Machine
Canadian water varies a lot in hardness — Prairie and Ontario tap water can be quite mineral-heavy, while some coastal and mountain regions are softer. Hard water leaves scale that clogs boilers and dulls flavour. Descale every one to three months depending on your water, using a product recommended for your machine (many brands sell their own descaling solution). If you’re unsure, test your water hardness or use filtered water.
Fixing Common Espresso Problems
- Channeling — uneven extraction; improve distribution and tamping.
- Sour shots — under-extracted; grind finer or extend shot time.
- Bitter shots — over-extracted; grind coarser or shorten the shot.
- Weak crema — usually stale beans; buy fresher.
Our Favourite Canadian Coffee Subscriptions
Subscription boxes are a low-effort way to keep fresh beans in rotation and discover new roasters — and they fit neatly with our love of subscription boxes generally.
Bean Subscription Services
Canada Coffee Club and Roasters Pack are two Canadian services that deliver freshly roasted beans to your door, often featuring rotating roasters from across the country. They’re a great way to explore without committing to a full bag of something you might not love. Bean Box is another option worth considering if you want curated selections and gift-friendly packaging.
Equipment and Accessory Boxes
Some subscriptions bundle gear, filters, or cleaning supplies alongside beans, which is handy when you’re building your setup. If you’re just starting out, a bean-only subscription plus a one-time accessory purchase usually makes the most sense financially.
Starting with a simple setup and genuinely fresh beans will get you 90% of the way to café-quality espresso at home. You don’t need the fanciest machine — you need consistency, good beans, and a bit of patience. Enjoy the process, log your shots, and don’t stress the imperfect ones. Every shot teaches you something, and the good ones taste even better for it.
FAQ
How much does a beginner espresso setup cost in Canada?
A realistic starter kit — entry-level machine, burr grinder, scale, and tamper — typically runs roughly $500 to $1,000 CAD. You can spend less on the machine and more on the grinder, which is usually the smarter trade-off.
Do I really need a burr grinder for espresso?
Yes, if you want consistent results. Blade grinders produce uneven particles that make shots taste sour or bitter. Baratza grinders are a common recommendation for home espresso beginners because they offer reliable, adjustable burr grinding.
How fresh should espresso beans be?
Aim for beans roasted within the last two to four weeks. Canadian roasters like Social Coffee & Tea Co., 49th Parallel, and Pilot Coffee Roasters print roast dates, so you can check before buying.
How often should I descale my espresso machine?
It depends on your water hardness. In harder-water regions, descale every one to two months; in softer areas, every three months is often enough. Using filtered water can stretch the interval.
Are coffee subscriptions worth it?
For most home baristas, yes. Services like Canada Coffee Club and Roasters Pack keep fresh beans arriving on schedule and let you try different Canadian roasters without hunting them down yourself.